Installation
Our technical instructions sheet takes precedence over any information printed on the packaging of tile laying products. We do not accept claims after the tiles have been laid. Laying the tiles constitutes acceptance of goods.
PRECAUTIONS
-
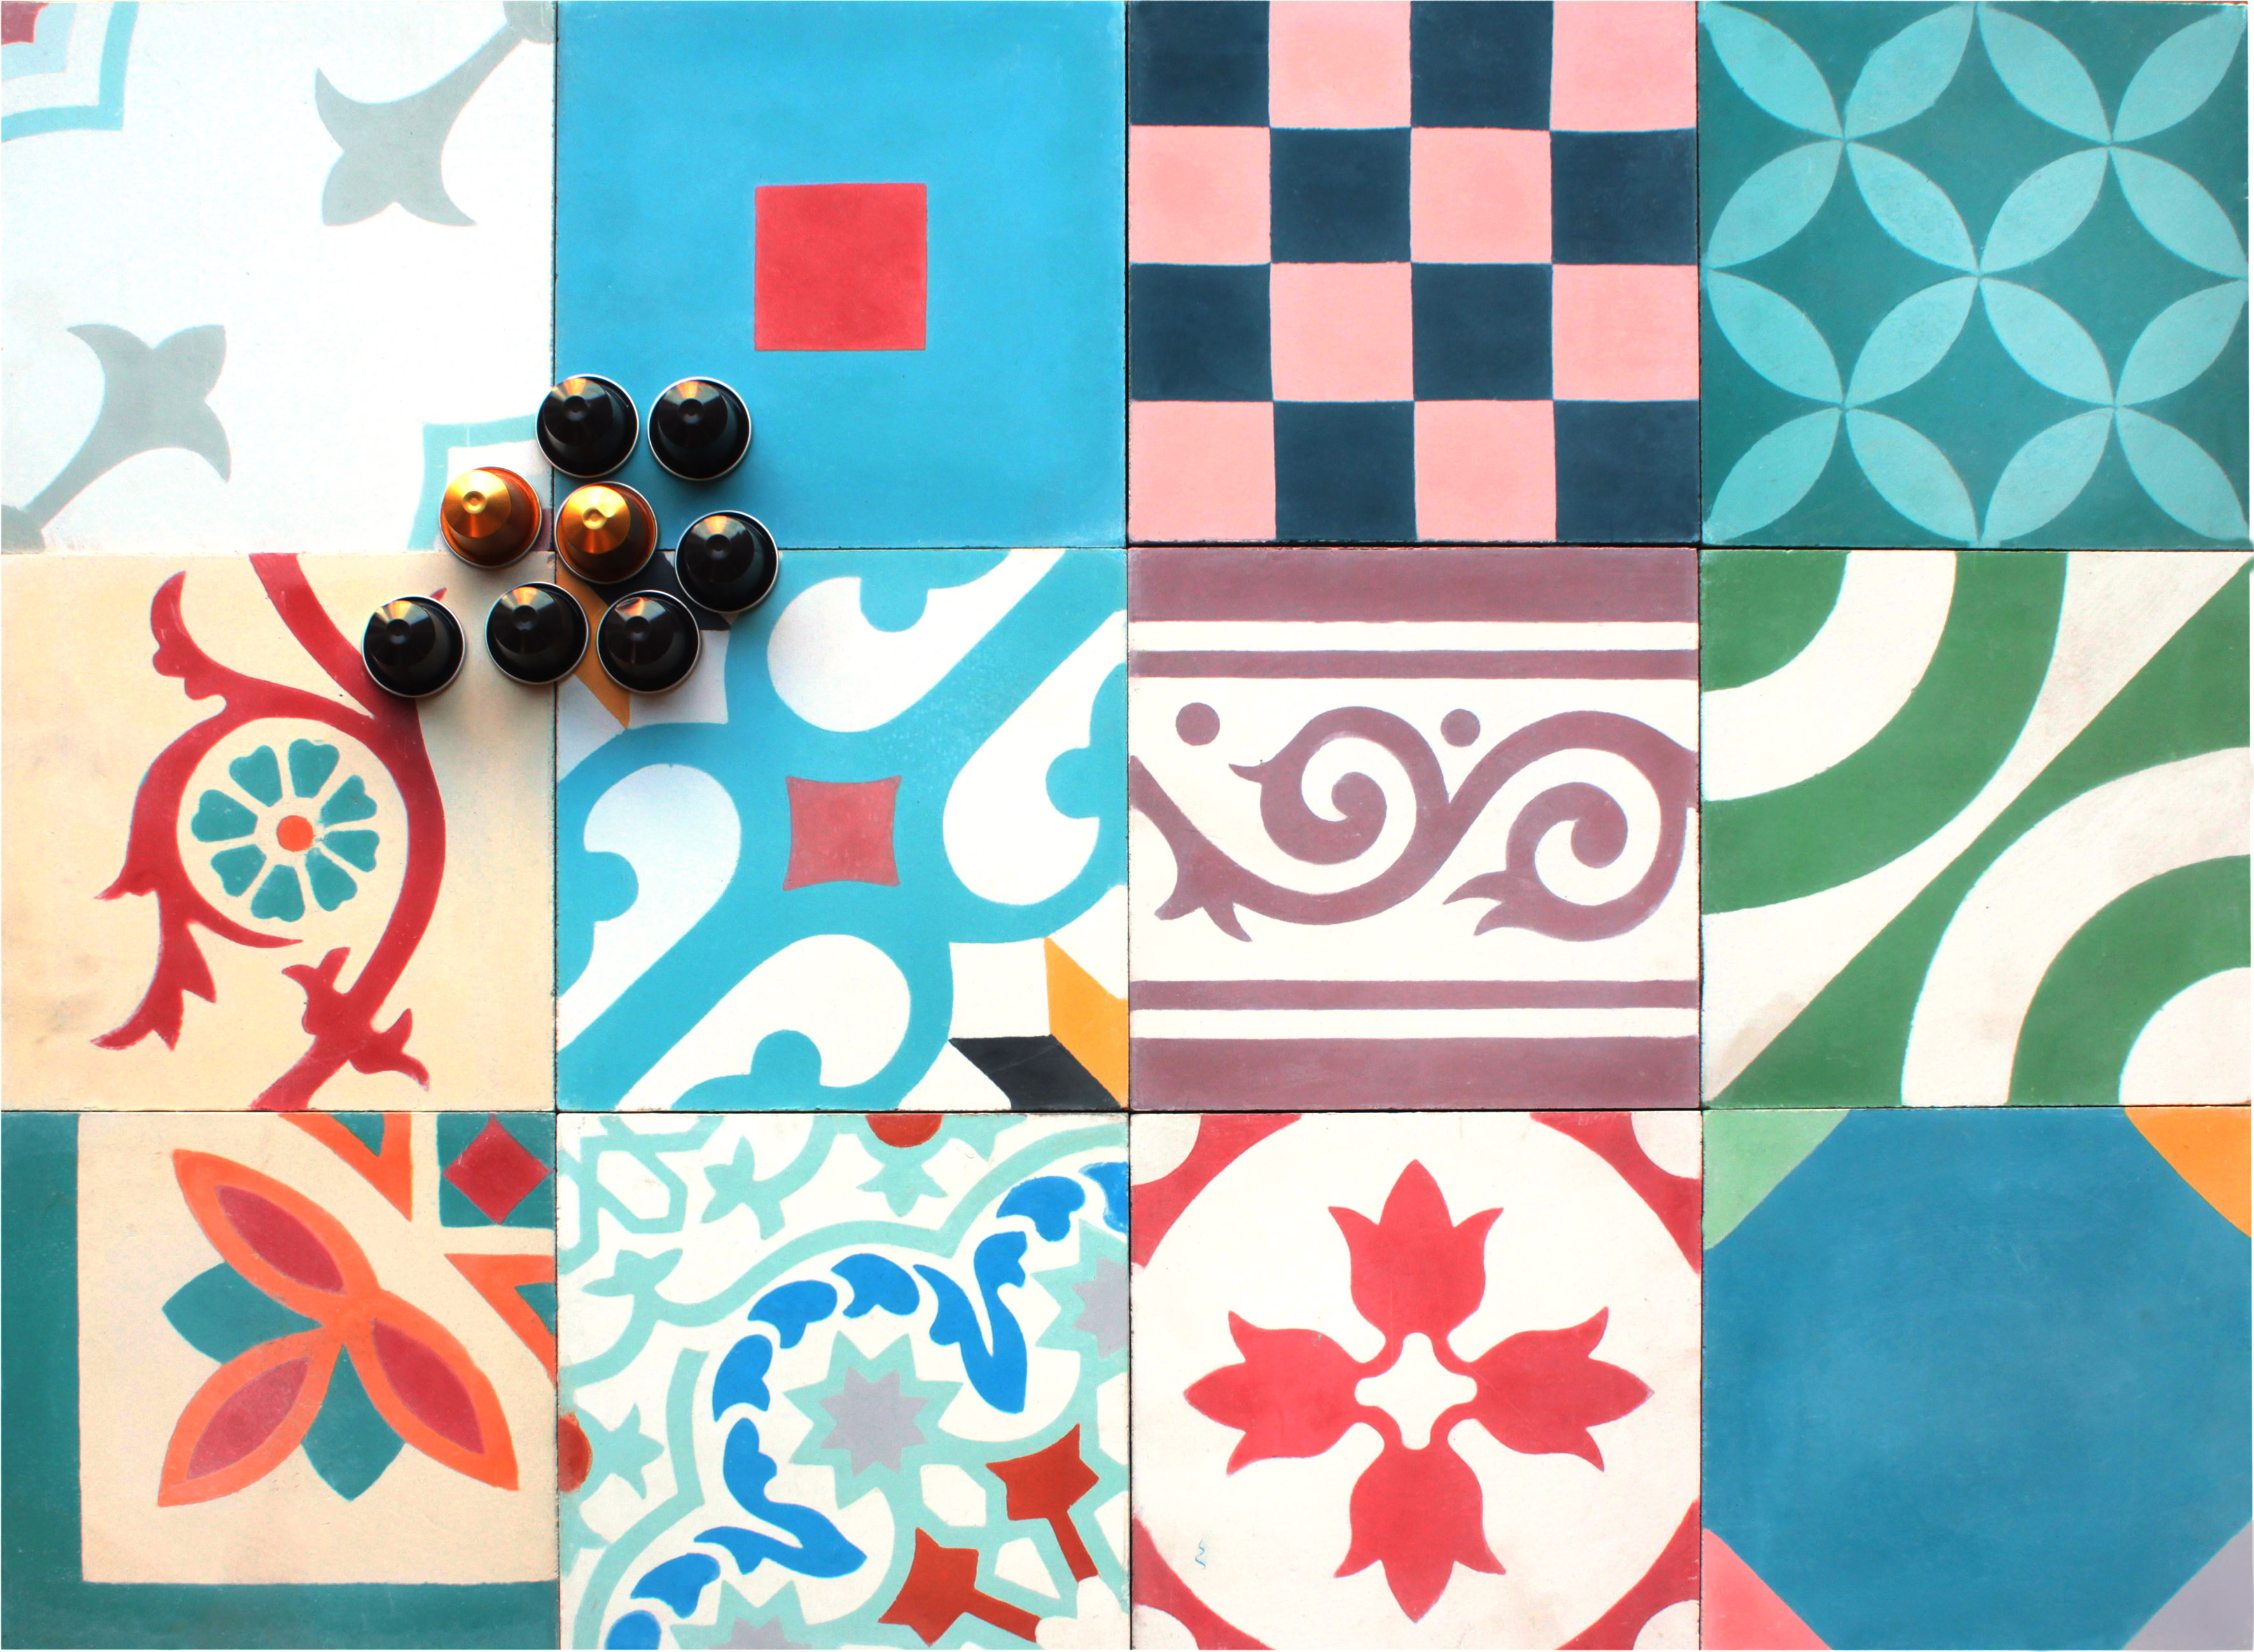
Cement tiles have nuances in design and colour. All tiles will not be identical. This is a result of the hand-crafted production process and the nature of cement. Mixing tiles from different boxes during setting is suggested to produce a beautiful, naturally rich appearance.
-
The tiles are unsealed raw cement. They can be easily stained until they are appropriately sealed. Try to avoid walking on raw tiles or handling with dirty hands – we recommend wearing protective gloves. In between procedures, protect the tiles from foot traffic. If walking on the tiles is essential, then we would recommend covering with cardboard (as opposed to plastic which inhibits drying).
-
All cement tiles are porous, it therefore important to seal the tiles correctly. Always test sealing products on a single tile before applying to the entire floor.
-
Do not make unnecessary pencil marks on the tiles as they may be impossible to remove after.
-
Tiles will expand and contract in different temperatures. We recommend the use of DITRA matting or a similar product and/or expansion joints to prevent any cracking in your tiles.
-
If you are tiling any surfaces that will be coming into direct contact with water you must ensure that the substrate is absolutely waterproof, especially if it is sensitive to water like wood or plaster.
-
We recommend the use of rapid setting adhesive to minimize water-absorption through the back of the tile.
-
After the tiles are fixed, all moisture must be released from the body and the surface of the tile prior to sealing and grouting. The amount of moisture is dependent on multiple factors including the depth of the substrate and their drying times and the moisture content of the tiles and adhesives. Be led by your professional installer on correct drying times. We strongly recommend allowing a 5- 7 days.
PEPARATION AND LAYOUT
-
Humid tiles should be stored on end in a well-ventilated area to dry thoroughly before fixing.
-
Make sure the person fitting the tiles knows what the tiles should like. ‘Shuffle’ the batch to ensure that any colour and tonal variations are well mixed.
-
Some degree of edge irregularity / edge chipping is to be expected for this type of artisan tile. These and any light scratches and scuff marks can be removed by lightly sanding with 150-200 wet-dry sandpaper. Work in circular motions and remove any residue with a dry sponge. Pits in the surface are also a feature of this range.
-
Before installation, lay out at least one row of tiles (without adhesive) in each direction to see if any adjustments need to be made. You may need to shift the layout to balance the border tiles from the wall.
-
Mark guidelines using a chalk line to suit your layout.
FIXING THE TILES
-
Prepare a level floor surface with concrete or self-levelling cement – please consult an experienced tiling professional if fitting onto a wooden floor as this kind of substrate may be subject to movement and/or deformation.
-
Ensure that the substrate is dry and fully cured so that there is no danger of humidity evaporating through the tiles which can leave traces of nitrate.
-
Prepare the adhesive following manufacture guidelines.
-
Spread the adhesive on the surface to be tiled using a notched trowel, working in areas of 0.2 – 0.5m2. Also apply adhesive to the back of the tile. Make sure that the whole surface of the tile is in contact with the adhesive. Avoid getting adhesive on the surface of the tile as this can lead to staining.
-
Carefully hand-press each tile. DO NOT USE A HAMMER OR RUBBER MALLET as this can cause micro-cracks to appear or even break the tile.
-
Lay the tiles almost edge to edge with as narrow a grout line as possible (traditionally 1mm). Generally, cement tiles are set abutted to one another with a small grout line. The only exception is for outdoor use or designs where a client may prefer a wider grout joint. In our opinion, the finer the joint, the more elegant the result.
-
Adjust each tile in relation to each other to maintain levels taking care to align them correctly, following your chalk line guide or using a spirit level.
-
Once set, leave the tiles to stand for 12-15 hours until dry.
CUTTING
-
We recommend the use of either a diamond cutter or an angle grinder to cut these tiles.
-
Whilst cutting or drilling, the surface of the tile may become wet and/or dirty. Wipe clean immediately after cutting.
PREPARATION BEFORE 1st COAT OF SEALANT
-
Once the adhesive has cured, check the tiles for any surface dirt or dried adhesive, removing any blemishes with a razor blade or lightly sanding with waterproof sandpaper taking care not to scratch the surface. DO NOT USE ACID, VINIGAR OR BLEACH.
-
ALLOW TILES TO DRY COMPLETELY. If the tiles are sealed or waxed when wet it can result in ‘ghosting’ under the sealant and can impede evaporation.
-
Whilst the tiles are drying, protect the tiles from all foot traffic. We recommend that traffic across a newly sealed floor is kept to a minimum for the first week as sealants can take a few days to fully oxidise and my not be fully effective during this time.
SEALING – 1st COAT
-
Make sure that the tiles are completely dry (at least 24 hours after having been set) and that they are completely clean before applying the first coat of sealant (we recommend Lithofin Stainstop MN).
-
Apply the sealant as per manufacturer’s guidelines. (NB Some tiles are more porous than others – test the sealant as a first coat on a spare tile.)
-
Apply one coat with a suitable applicator to the face and edges of the tile (to ensure no bleeding from the grout). Add more product if the tile requires it within the saturation tiles. It’s important to remove any excess that has not been readily absorbed within 10-15 minutes of application ensuring the surface is completely dry before moving on to the next area.
-
After 1-2 hours the floor can be walked on but should be left to dry. Protect the tiles from foot traffic whilst the sealant is drying (minimum 24 hours).
GROUTING
-
IMPORTANT: Do not use dark tinted grout. This can stain your tiles. Test your grout first on a spare tile.
-
BEFORE grouting, make sure that the sealant has cured completely.
-
Mix the grout to a slightly runny consistency.
-
Apply the grout carefully to the grout lines using a filling knife taking care not to spread too much onto the tile. We do not recommend slurry grouting.
-
Ensure that the tools are completely clean and free of any hardened grout.
-
Clean off excess from the face of the tile using a damp fine textured foam sponge. Avoid removing inset grout by wiping across the tile at an angle to the grout line. Do not over wash the grout and change the cleaning water regularly.
-
Take care to fully compress the grout into the full depth of the grout joints so that no air pockets are formed.
-
Leave the perimeter joints as these must be finished with a good quality silicone sealer after the final seal and not with the grout. This will allow for expansion and contraction during normal heating and cooling cycles.
-
Leave the grout to dry for a minimum of 24 hours, and ideally 4-5 days before re-sealing.
-
If grout residue has been left to dry on the surface of the tiles, us Lithofin Power Clean diluted 1:10 to remove. Test the product first on one tile and apply for 1-2 minutes using a white emulsifying pad to remove the grout residue. Rinse completely and allow the tile to dry.
-
Should efflorescence form, these salts can be removed once the grout has fully dried and cured by frequent washing with clean water of Lithofin Power Clean diluted 1:10 once the grout has been allowed to fully cure for a minimum of 28 days.
SEALING – 2nd COAT
-
After the grout has dried, make sure that the tiles are completely clean and free from any grout residue.
-
Apply the second coat of sealant, taking care to ensure that you wipe away any excess. The best finish is achieved by applying the sealant in small amounts.
-
Protect the tiles from foot traffic whilst the second coat is drying (minimum 24 hours)
OPTIONAL 3rd COAT of SEALANT
-
If you have been using Lithofin Stainstop MN as the impregnator/ sealant for this tile, we also recommend the use of Lithofin Multiseal as a final top coat. This sealant will give the tile a slight satin sheen but it will greatly assist in keeping the tiles clean for regular maintenance. Apply as per manufacturer’s guidelines.
-
NB this product is not suitable for wet rooms or outdoor areas and surface colour may deepen when using this product.
-
Shake the tin well and apply 2-3 thin an even coats with a suitable applicator ensuring no excess is left on the surface.
-
Leave to dry for a minimum of 4 hours. This sealant will cure fully in 48 hours.
Please note, the above is intended for guidance only and the ultimate responsibility for laying these tiles remains with the tiler. We cannot accept any responsibility for any issues arising from the incorrect placement of these tiles as a result of this guidance.
|
